


Guide for Laying Porcelain Pavers
Installing porcelain paving slabs is one of the best ways to create a modern, durable, and low-maintenance outdoor space. However, proper installation is essential to ensure long-lasting results, especially in UK weather conditions.
In this guide, we explain how to lay porcelain paving slabs step by step, including preparation, installation methods, and common mistakes to avoid.
Cutting Porcelain Tiles:
We only recommend a bench saw with a diamond blade should be used to cut 20mm porcelain tiles for example the Raimondi ZOE 150 or Rubi DC-250 850 Wet Tile Saw or tools of a similar standard all of which can be sourced from many tool hire outlets. We do not recommend over reliance on hand tools for cutting 20mm porcelain due to the gyroscopic effect that may be caused by the spinning blade.
The diamond blade used is of equal importance 20mm porcelain is an extremely hard and durable material and requires a good standard continuous-rim porcelain-cutting blade. After every few cuts, the blade itself should be ‘cleaned’ using a suitable dressing stone to remove any residue that has accumulated on the cutting edge from the substrate that has been cut.
External porcelain paving is a very hard material the high tensile strength of external porcelain means it is very important that the correct cutter and blade are used to avoid damages of both the tiles and cutting blade.
20mm - Outdoor Porcelain is a very hard product and it cannot be cut using normal Hand tools like chisels and hammers used for cutting stones.
First Method
Full Wet Mix Mortar Bed- (This is the most common technique used in UK)
1. Measurement
Take a proper measurement of your Patio space and add 10% for offcuts.
2. SUB-BASE
100mm- Sub-base that can be Containing Granules of compacted limestone, gritstone or any other such stone Granules suitable.
Dig out the place and put this Sub-Base on the area in which you are putting Paving Slabs.
3. BASE
30mm- The main Mix Mortar Base which consists of Grit Sand and Ordinary Portland Cement (OPC) in the ratio of 4:1 or stronger.
To check please ensure that Mortar is binding together and is not watery.
4. Making the Wet Bed for Pavers
Apply the Base Mortar on the sub-base. Level the bed properly as this will carry the Slabs.
Judging the right level of the Bed and getting the right degree of rippling is very important so that the paving slabs can be placed properly at the same level thus eliminating inconsistencies.
5. Slurry Primer or SBR
Porcelain have very low water absorption and hence they need something to make the paving slabs stick properly to the base.
Use a brush to place the Slurry Primer on the Back of the Paving Slab properly just before placing it on the Wet Bed.
Ensure that you do not put any Primer on the top surface.

6. Tiling and Tapping
After the Primer has been put on back of tiles they can be laid on the mortar.
Using a rubber mallet is very important here to Tap the paving slabs to correct level. The entire beauty of Paving Slabs depends on laying them to correct level.

7. Spacers (Not Compulsory)
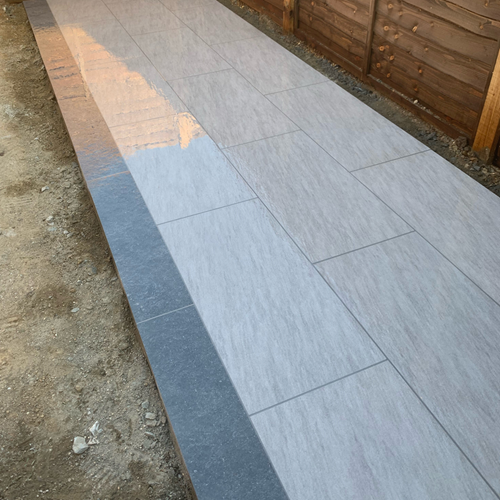
Most of our porcelain pavers have rectified edges and hence you can bud-joint them. Though we always recommend our customers to have minimum 2mm Joint as this gives a proper Tiling Effect and make the Patio look even more stunning.

8. Grouting and Final touch
We recommend Porcelain Grout as its impermeable and gives higher coverage.
Remove any excess while grouting. Avoid foot traffic on the Patio for 24 hours.
9.Sealing:
Porcelain tiles are UV, scratch, stain and thermal-shock resistant and 100% non-porous and therefore do not require sealing products. But while porcelain tiles are non-absorbent and stain resistant, the grout that surrounds the tile may not be. Cement based grout is a porous product that can absorb water and stain. We therefore advise that all cement based grout joints are protected using a dedicated grout sealer – please see our paving essentials range
🛒 RELATED PRODUCTS
For best results, use high-quality materials:
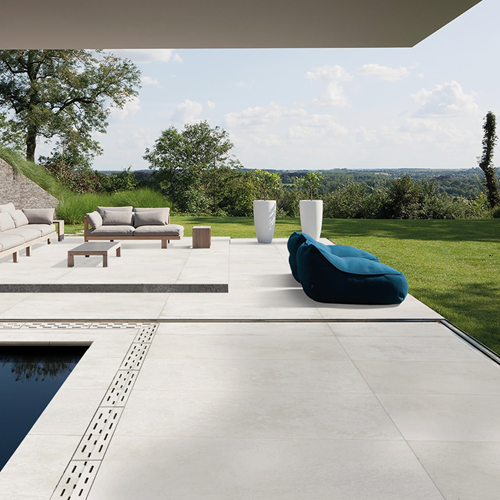
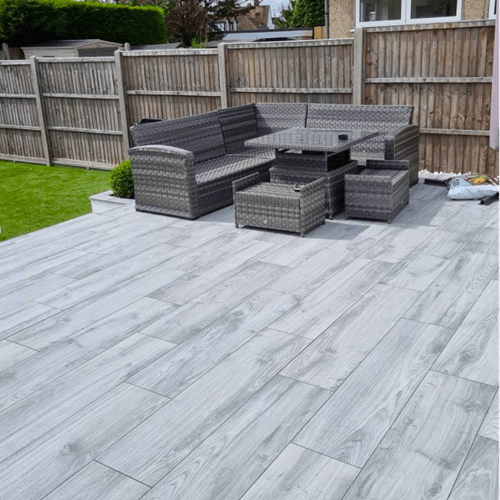
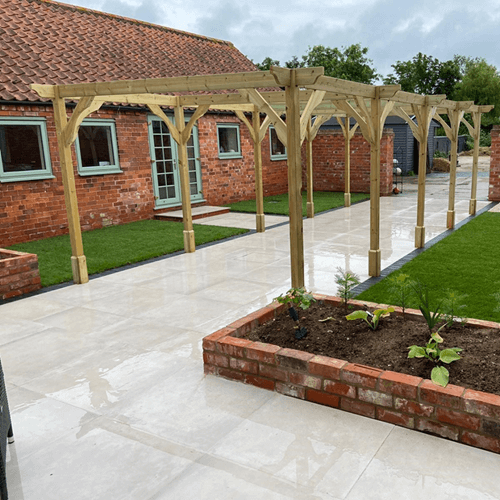
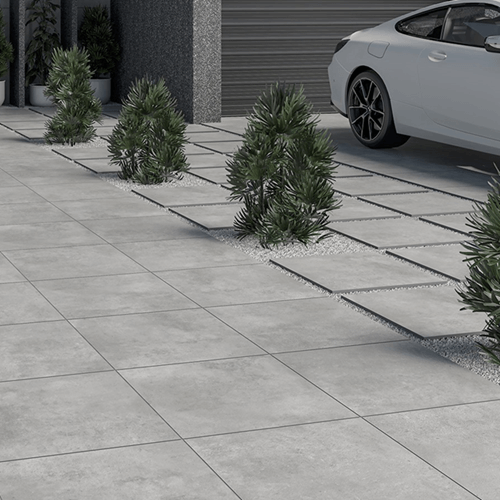
👉 Explore our outdoor porcelain paving slabs
👉 View installation accessories and primers
Second Method
Thin Bed with the Help of Adhesive
The placing and installation is easy by this way, but the preparation work required needs to be much more Precise than First Method.
1. Base
The Base here is Pre-Installed Concrete or such hard base on which Tiles can affixed directly without any need of Mix Mortar or other things.
The Concrete base can be 70-100mm thick concrete (C7.5 or stronger) slabs or reinforced concrete.
2. Specialist Tile Adhesive
The tiles can be laid on top of concrete or such hard levelled surface with the help of a Tile Adhesive, which is an outdoor grade polymer-modified cement-based adhesive.
This Outdoor Tile Adhesive is spread over the concrete by a notched spreader to make sure that the depth of adhesive is uniform.
(The Required Thickness for the Bedding is specified by adhesive manufacturer)
3. Tile Fixing
The tiles are than placed and pressed down on the adhesive. Pressing and fixing is done in a way to settle down falls and levels.

4. Slurry Primer or SBR
The Slurry primer like in the first method is to be placed on the back of the slabs before laying them.
5. Grouting and Final touch
We recommend Porcelain Grout as its impermeable and gives higher coverage.
Remove any excess while grouting. Avoid foot traffic on the Patio for 24 hours.
6.Sealing:
Porcelain tiles are UV, scratch, stain and thermal-shock resistant and 100% non-porous and therefore do not require sealing products. But while porcelain tiles are non-absorbent and stain resistant, the grout that surrounds the tile may not be. Cement based grout is a porous product that can absorb water and stain. We therefore advise that all cement based grout joints are protected using a dedicated grout sealer – please see our paving essentials range
⚠️ COMMON MISTAKES TO AVOID
- skipping primer application
- using weak base layers
- poor drainage planning
- uneven mortar distribution
-
Ignoring grout haze and surface contamination (IMPORTANT)
One of the most overlooked issues during porcelain paving installation is grout haze or residue left on the tile surface.
If grout is not cleaned within the recommended time during installation, it can dry on the surface and create a thin film or layer on the tiles. This is often known as grout haze.
If not removed properly, it may:
- affect the final appearance of the paving
- make the surface harder to clean later
- increase the risk of staining over time
💡 Professional recommendation:
We strongly recommend using a pre-grout sealer before jointing. This helps prevent grout from bonding to the surface and makes cleaning significantly easier after installation.
🌧️ UK WEATHER CONSIDERATIONS
In the UK, freeze-thaw cycles make installation quality even more important.
Porcelain paving is:
- frost resistant
- non-porous
- slip resistant
But only if installed correctly.
❓ FAQ
Can porcelain slabs be laid on sand?
No, full mortar bed installation is required for long-term stability.
How long does porcelain paving last?
When installed correctly, it can last decades with minimal maintenance.
Does porcelain paving need a pre-grout sealer?
While porcelain paving is non-porous and does not require sealing, a pre-grout sealer is recommended during installation to help prevent grout haze and make cleaning easier.
What is grout haze on porcelain tiles?
Grout haze is a thin layer of residue that can remain on the surface of tiles if grout is not cleaned properly during installation.
How do you prevent staining during installation?
Using a pre-grout sealer and cleaning grout off the surface within the recommended time frame helps prevent staining or residue build-up.
🛒 RELATED PRODUCTS
For best results, use high-quality materials:
👉 Explore our outdoor porcelain paving slabs
👉 View installation accessories and primers


